Step One – Prepare Casper and the environment
The very first thing before taking a photograph is to check and prepare your cat. Your kitty has to be ready to be shown at his very best. This means that in some cases I will comb Casper, although normally it is Casper himself who takes he takes care of his coat.
There is however one thing I pay special attention to: his eyes! Especially the crusty discharge in his eyes can be very disturbing in cat photographs.
I don’t like it, it is very distracting. If I don’t take it away before taking photographs, I need to take it away during the post-processing editing because I will not post pictures with crusty eyes.
The second thing I always check is the environment where I will photograph Casper.
Surely, you must have noticed that the background can make or break a picture. So that is why I think it is very important to pay attention to every time before taking pictures.
Usually I take photographs of Casper at home, and I will always try to remove all unwanted objects from the area as much as possible. I think this is important because some elements may be very distracting when they are visible in the picture.
They distract from the subject, Casper, and the picture will be less interesting, which can result in a less popular picture.
Step Two – Take multiple photographs
Now, with Casper and the environment ready, it is time to take some pictures!
But first a few words about the gear I use. I own two types of cameras, which I use daily to take pictures of Casper: my smartphone (Iphone SE) and a DSLR (a Nikon D750). I realise that both devices are quite expensive. But despite what a lot of people think, expensive gear does not make beautiful pictures just by itself.
I firmly believe that nowadays, with the quality and features of most smartphones, small size digital cameras and DSLRs, you can make equal quality pictures with most devices.
The trick is to make use of the basic rules and guidelines of cat photography.
So my focus while I take cat pictures of Casper is on paying attention to the quality of the composition, the quality of the light and the correct focus.
I usually take plenty of pictures from different angles. The number of pictures I can make, all depends of the patience and the action that Casper has during that particular photography session.
Step Three – Transfer the pictures to my laptop & Making a selection
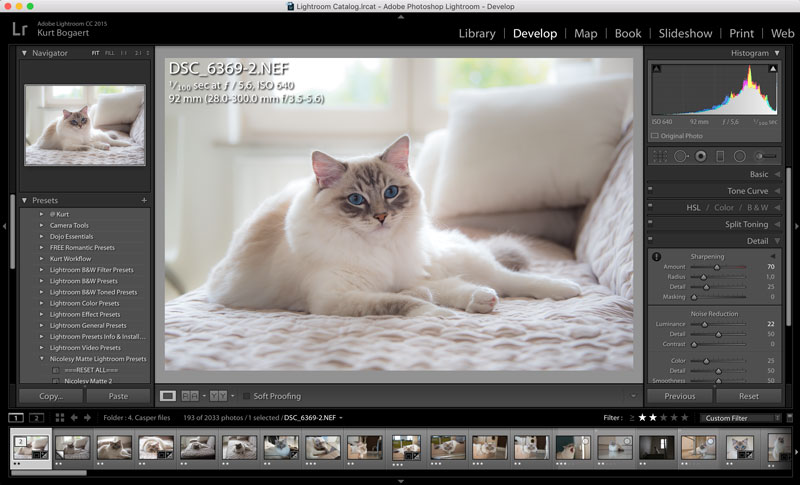
In the next step I transfer the pictures to my laptop and I import them into Adobe Lightroom. Adobe Lightroom is a photo processing and image organizer, which allows viewing, organizing and retouching large numbers of digital images. All the edits done in Lightroom are non-destructive, so the original pictures always remain untouched and available at all times.
I have been using Lightroom for more than five years now, from the moment I started photographing landscapes and portraits. I find this software especially useful for organising all my pictures.
After the photographs are imported into Lightroom, I start the process which photographers call ‘culling’. I simple start to select and delete all the pictures I don’t want to keep: blurry, ugly, wrong focus, wrong composition…
Especially the pictures where the subject of the picture is out of focus, e.g. eyes out of focus, are not good enough and I will never use them.
The pictures I will never use, get deleted immediately. In some cases, if the composition isn’t optimal, I might hesitate and keep the picture anyway. I can always try to change the composition by trying a different “crop” when I am editing the picture during post-processing.
After selecting and deleting all the bad ones, I go through the pictures a second time, this time to indicate the very good ones. I use a star rating system to indicate the ones I want to use for my Instagram feed.
Step Four – Edit the selected pictures for posting on social media
Next step is the “editing of the pictures”. In this step I am optimizing the pictures that I want to post on my Instagram feed. I specifically say “optimising” because I don’t change any elements in the picture itself, like sometimes is done in Photoshop. I am just optimising some parameters of the picture here.
I usually try to do a series of pictures together. This way these pictures are getting more or less the same optimisations and fit nicely together and I have several pictures ready to post when done.
Does this mean that you can’t post the pictures just like that? No of course not, You can always post pictures right from your library. I just like to see them first on a bigger screen and optimise them in Lightroom.
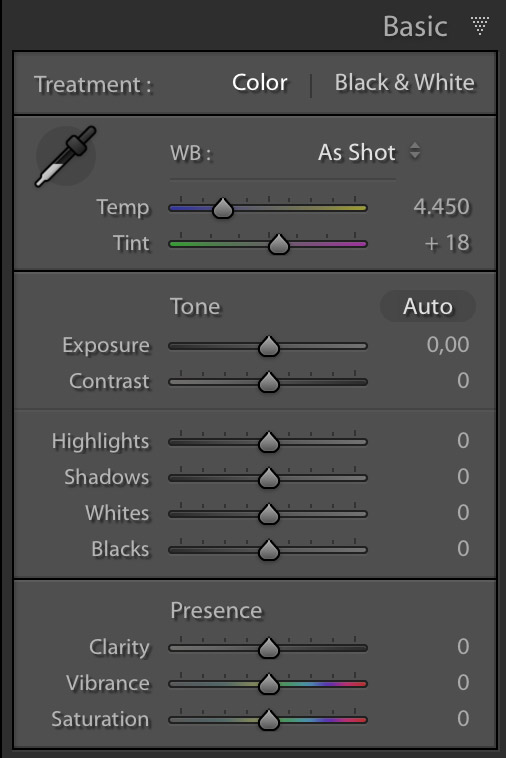
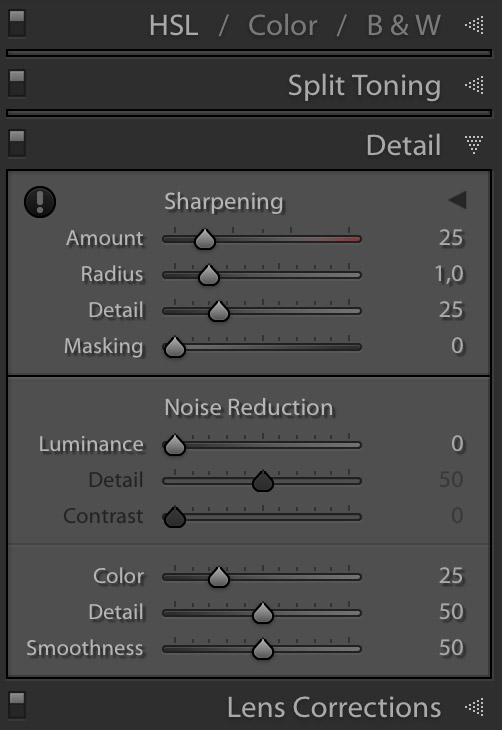
What am I optimising then? There are six main topics I will always pay attention to when optimising the picture:
- Composition (crop size of the picture)
- Colour tone / White balance
- Brightness of the picture
- Colour saturation
- Sharpness
- Noise level
I will change the levels of these parameters until the picture looks good for me on the screen. This process is a very subjective optimisation but there are some general changes, which are known to be beneficial for the popularity of a picture. I usually tend to make changes more or less in the same way.
When the picture is ready, I export them in the right Instagram format. I use the following export settings:
- Image format: jpg
- Colour space: sRGB
- Quality: 100 %
- Resize: 2160 pixels on long side
- Resolution: 72 dpi
- Sharpen for screen
Lightroom allows to add a logo while exporting the picture. I always add the IamCasper logo on the left bottom of each picture, in a white colour and 20% transparency.
The files are exported to a file called “Instagram Casper to post” and they are set to go.
Step Five – Transfer to my IPhone
This step is an easy one but very necessary because the Instagram App is on my Iphone. So I transfer the pictures I want to post to my IPhone.
Step Six – I make the final edit in the Instagram App
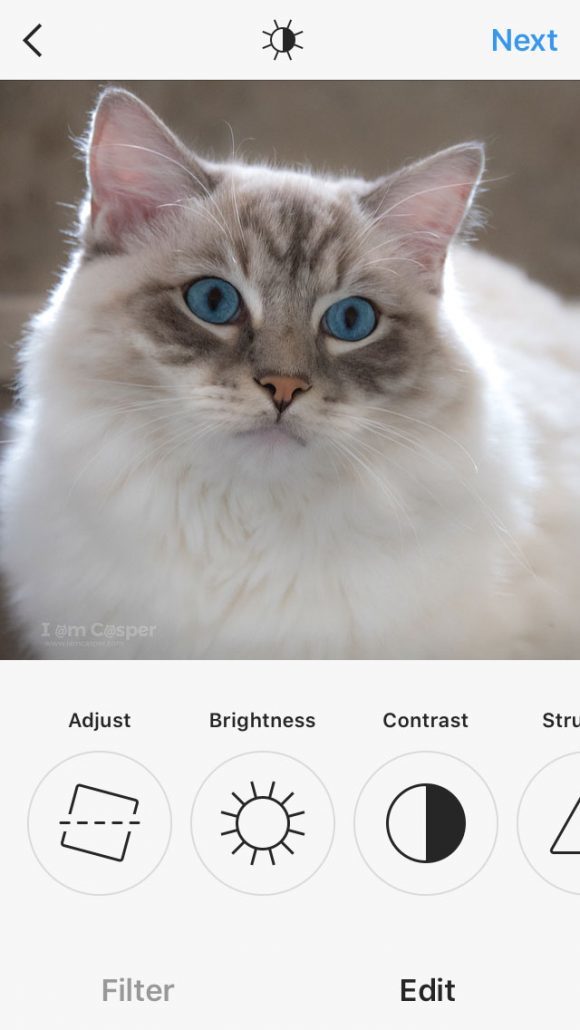
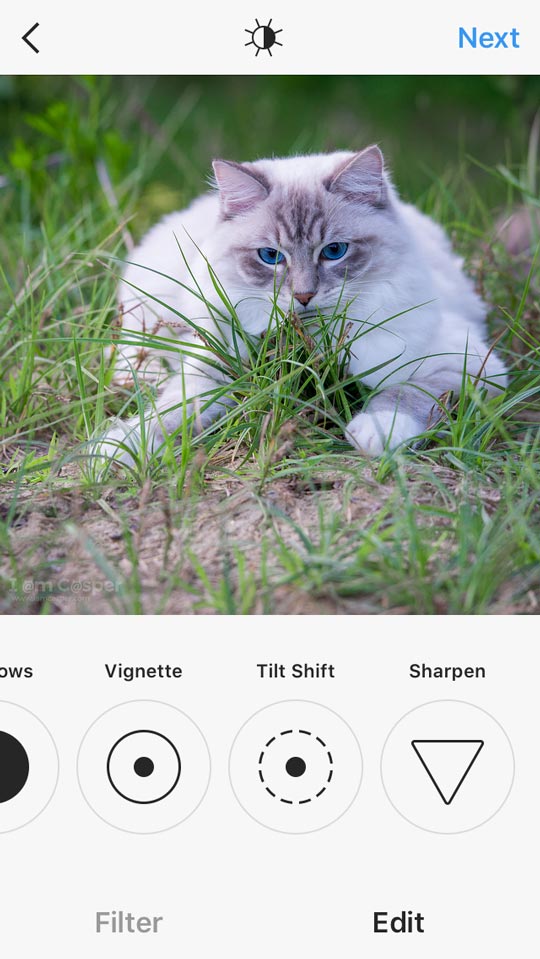
People use the Instagram app primarily on their smartphone. This means that the photographs have to look good on a small smartphone screen. That is why I do a final edit on my smartphone.
When it is time to make a new post, I open the Instagram App, select the picture and proceed to the editing settings. And I make a final edit of the picture with the edit possibilities of the Instagram App. I only change a parameter when I think it looks better.
In order to get a consistent look and feel of my Instagram feed, I try to get the same look and feel for every picture I post. I strongly believe this is important because an inconsistent feed with pictures that differ very much is usually not beautiful to watch.
My method for editing in the App is the same as in Lightroom. It has to look good and consistent on the small screen of my smartphone.
Until now I never have used the ‘add Filter’ to any of my pictures.
Step Seven – Write caption and post on Instagram
The last step is to find a beautiful caption that fits with the picture. Sometimes I like to do some research to find a good quote or story. And then I post the picture.
I always post hashtags in the comment section right after I made the post. I do this to avoid a caption full of hashtags but that is a topic for another post.
Conclusion
There you go, the seven steps of my Instagram workflow I always use for making a new post.
Don’t hesitate to make suggestions or ask questions about this workflow.
I would love to help you with extra information.
More valuable info:
Here are some of my most popular pages or blogposts, I am sure you may find them interesting too:


